Putting Sound Walls to Practice
There are 44 phonemes in English, but only 26 letters. Yet, there are more than 240 ways to represent the sounds in English—whew! Sound walls are helpful instructional tools because they provide teachers with an approachable way to begin incorporating evidence-based instruction in the classroom. Thanks to Dr. Mary Dahlgren and her passion for spreading this knowledge, teachers have been eagerly implementing sound walls in classrooms around the world.
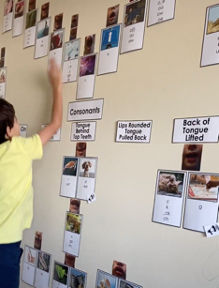
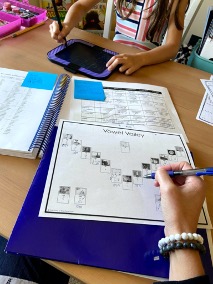
With daily use, a sound wall doesn’t become wallpaper or just another poster; it becomes the canvas that students learn to use as a starting point for reading and spelling. And just as a canvas must be painted in order to become a masterpiece, a sound wall should be accessible, used, and touched by students.
There is a difference between having a sound wall and using a sound wall. If sound walls are posted but not being referenced, they will not be any more helpful than a word wall. But the exciting reality is that students and teachers can interact with sound walls during all parts of the day.
Let’s explore how sound walls are beneficial to teacher knowledge of language:
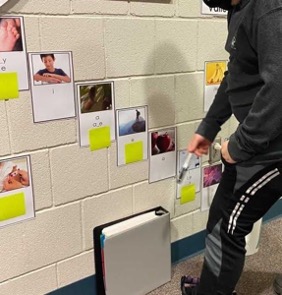
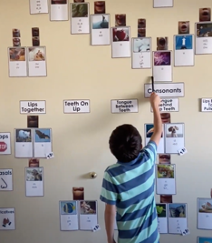
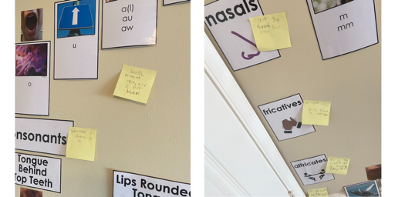
- Sounds as a starting point: Sound walls prompt teachers to switch mindsets and practices by putting initial focus on sounds rather than letters. Through this lens, teachers quickly learn that consonants and vowels are sounds. Covering the graphemes can be done with sticky notes in the classroom, or by adding solid white shapes on top of the cards when teaching virtually.
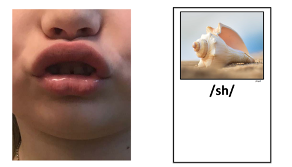
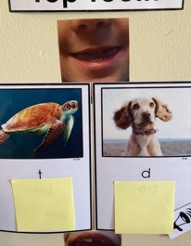
- Manner and place of articulation: Teachers spend instructional time describing the placement of the lips, tongue, and teeth; the type of airflow; and the vibration of the vocal cords. They begin to focus student attention to how and where the sound is produced.
- Spelling analysis: As teachers learn more about each group of sounds, they develop a better understanding of why students make certain errors, as well as how to correct them.
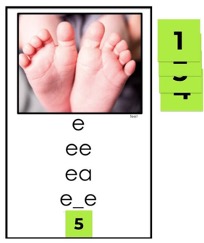
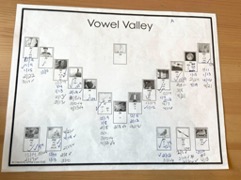
- Sound mapping: Using phoneme-grapheme mapping during phonics and spelling instruction helps students analyze sound placement and spelling within words. Students and teachers form a stronger understanding of phoneme-grapheme mapping when they see each sound on its own card on the sound wall. For example: If unsure of how to write “chirp” in sound boxes, they can count the sounds (3) and then look at each corresponding sound wall card to spell.
Organizing practice opportunities throughout the day will help students to become more and more comfortable using the sound wall on their own. Here are some ideas to try in your classroom:
- Daily review: Dr. Dahlgren recommends a daily or weekly review routine using the sound wall, perhaps as part of your daily calendar or morning meeting. A quick discussion about a few sounds each day will help students connect abstract sounds to the manner and place of articulation seen on a sound wall, a practice that makes fleeting sounds more concrete. Get your students involved by creating a chant or song for each category of sounds.
- Incorporate hands-on learning: Use mirrors when introducing each new sound, reviewing sounds, or discussing errors. Encourage students to focus on the position of the lips, tongue, and teeth in the mirror. Focus attention to voicing of vowels and consonants by having students place their hands on their throats or over their ears to feel the vibration. When discussing nasal sounds, have students pinch their noses and attempt to produce the sounds. Connect students to the different types of air flow by asking them to hold tissues in front of their mouths when producing each sound.
- Build a shared vocabulary: When introducing, reviewing, or reteaching sounds, use student-friendly definitions of vowels and consonants. Build a shared vocabulary among the class that is tied to how sounds are articulated. Teach that vowels are open sounds, while consonants are formed by blocking the air flow in some way. In short, make the sound wall theirs. Describing the sounds in easy-to-understand vocabulary will allow students to interact with the wall together.
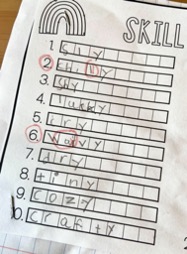
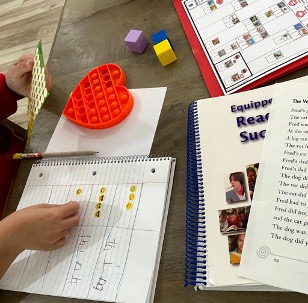
- Auditory drill: In this exercise, teachers say the sound and students write the spelling(s) of that sound. Students are only expected to write the spellings that they have been taught. If virtual, the teacher can display the card with graphemes covered. As students write each spelling, the teacher can uncover the card as a way to self-check.
When teaching in person, students write the various spellings for the sound, and then cross-check their answers by looking at the sound wall card. While students are writing, teachers can use personal sound walls to monitor progress and mastery
of phonemes and graphemes. This is especially helpful during small-group instruction.
- Errors related to voicing: When discussing spelling errors related to consonants, determine if voicing is the problem. Often, students will mistake a voiced consonant for an unvoiced consonant or vice versa. For example, if the student writes “spiter,” point them back to the paired sounds /t/ and /d/. Teach students to focus on their mouths and throats when spelling.
- Nasalization: Explicitly teach students about nasal sounds and how these can influence vowels. Even in kindergarten, students can understand that certain letters change the sound of vowels. This will greatly help young students when they are blending and segmenting words ending with m, n, ng, or nk by equipping them with the ability to segment individual sounds even when the vowel is nasalized and not quite as clear.
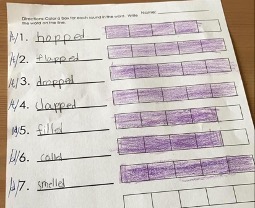
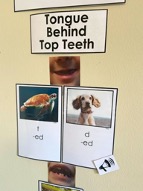
- Various sounds of suffixes: Sound walls help students to quickly see -ed on two separate sound wall cards, providing a concrete reminder that -ed represents more than one sound in English: /d/, /t/, and /ǝd/. The same is true of -s. If students have an understanding of voiced and unvoiced consonants on a sound wall, they will better understand when -s and -ed take on their various pronunciations.
Reference your sound wall throughout the day to deepen your instruction, and encourage your students to interact with this tool often. As you use it more, students will as well! If you are interested in growing your knowledge of sound walls, including
each English phoneme and its spelling(s), LETRS professional development is highly recommended. It will give you the content knowledge and evidence-based best practices that you
need to be a teacher who is smarter than their program.